
Mathematician and sculptor Helaman Ferguson invented this design for a hyperbolic blanket. His original construction was a poncho.
Ferguson kindly loaned me his poncho so that I could use it in a lecture and — better still — reverse-engineer it to make a hyperbolic blanket of my own. If you want to make one too, follow the instructions and photos below. Compared to older paper-and-scissors constructions of hyperbolic surfaces, Ferguson’s design
To make a blanket, you’ll cut lots of pentagons from a sheet of fleece and then sew them together.
The template for the pentagon is too big to fit onto a single sheet of 8.5" × 11" printer paper, so you’ll need to print the left half and the right half onto separate sheets of paper

and then carefully tape them together.

Printer paper is too flimsy for practical use, so transfer the template from paper to cardboard, as follows.
First cut along the outer pentagon.

Get a sheet of lightweight cardboard and trace the pentagon onto it.

Now cut along the inner pentagon, discard the interior, and tape the remaining pentagonal strip onto the cardboard. The pentagonal strip may be a little wobbly, so make sure it aligns with the curves you traced earlier.

Trace along the inner pentagon.

Remove the pentagonal strip. Cut the cardboard along both the inner and outer pentagons

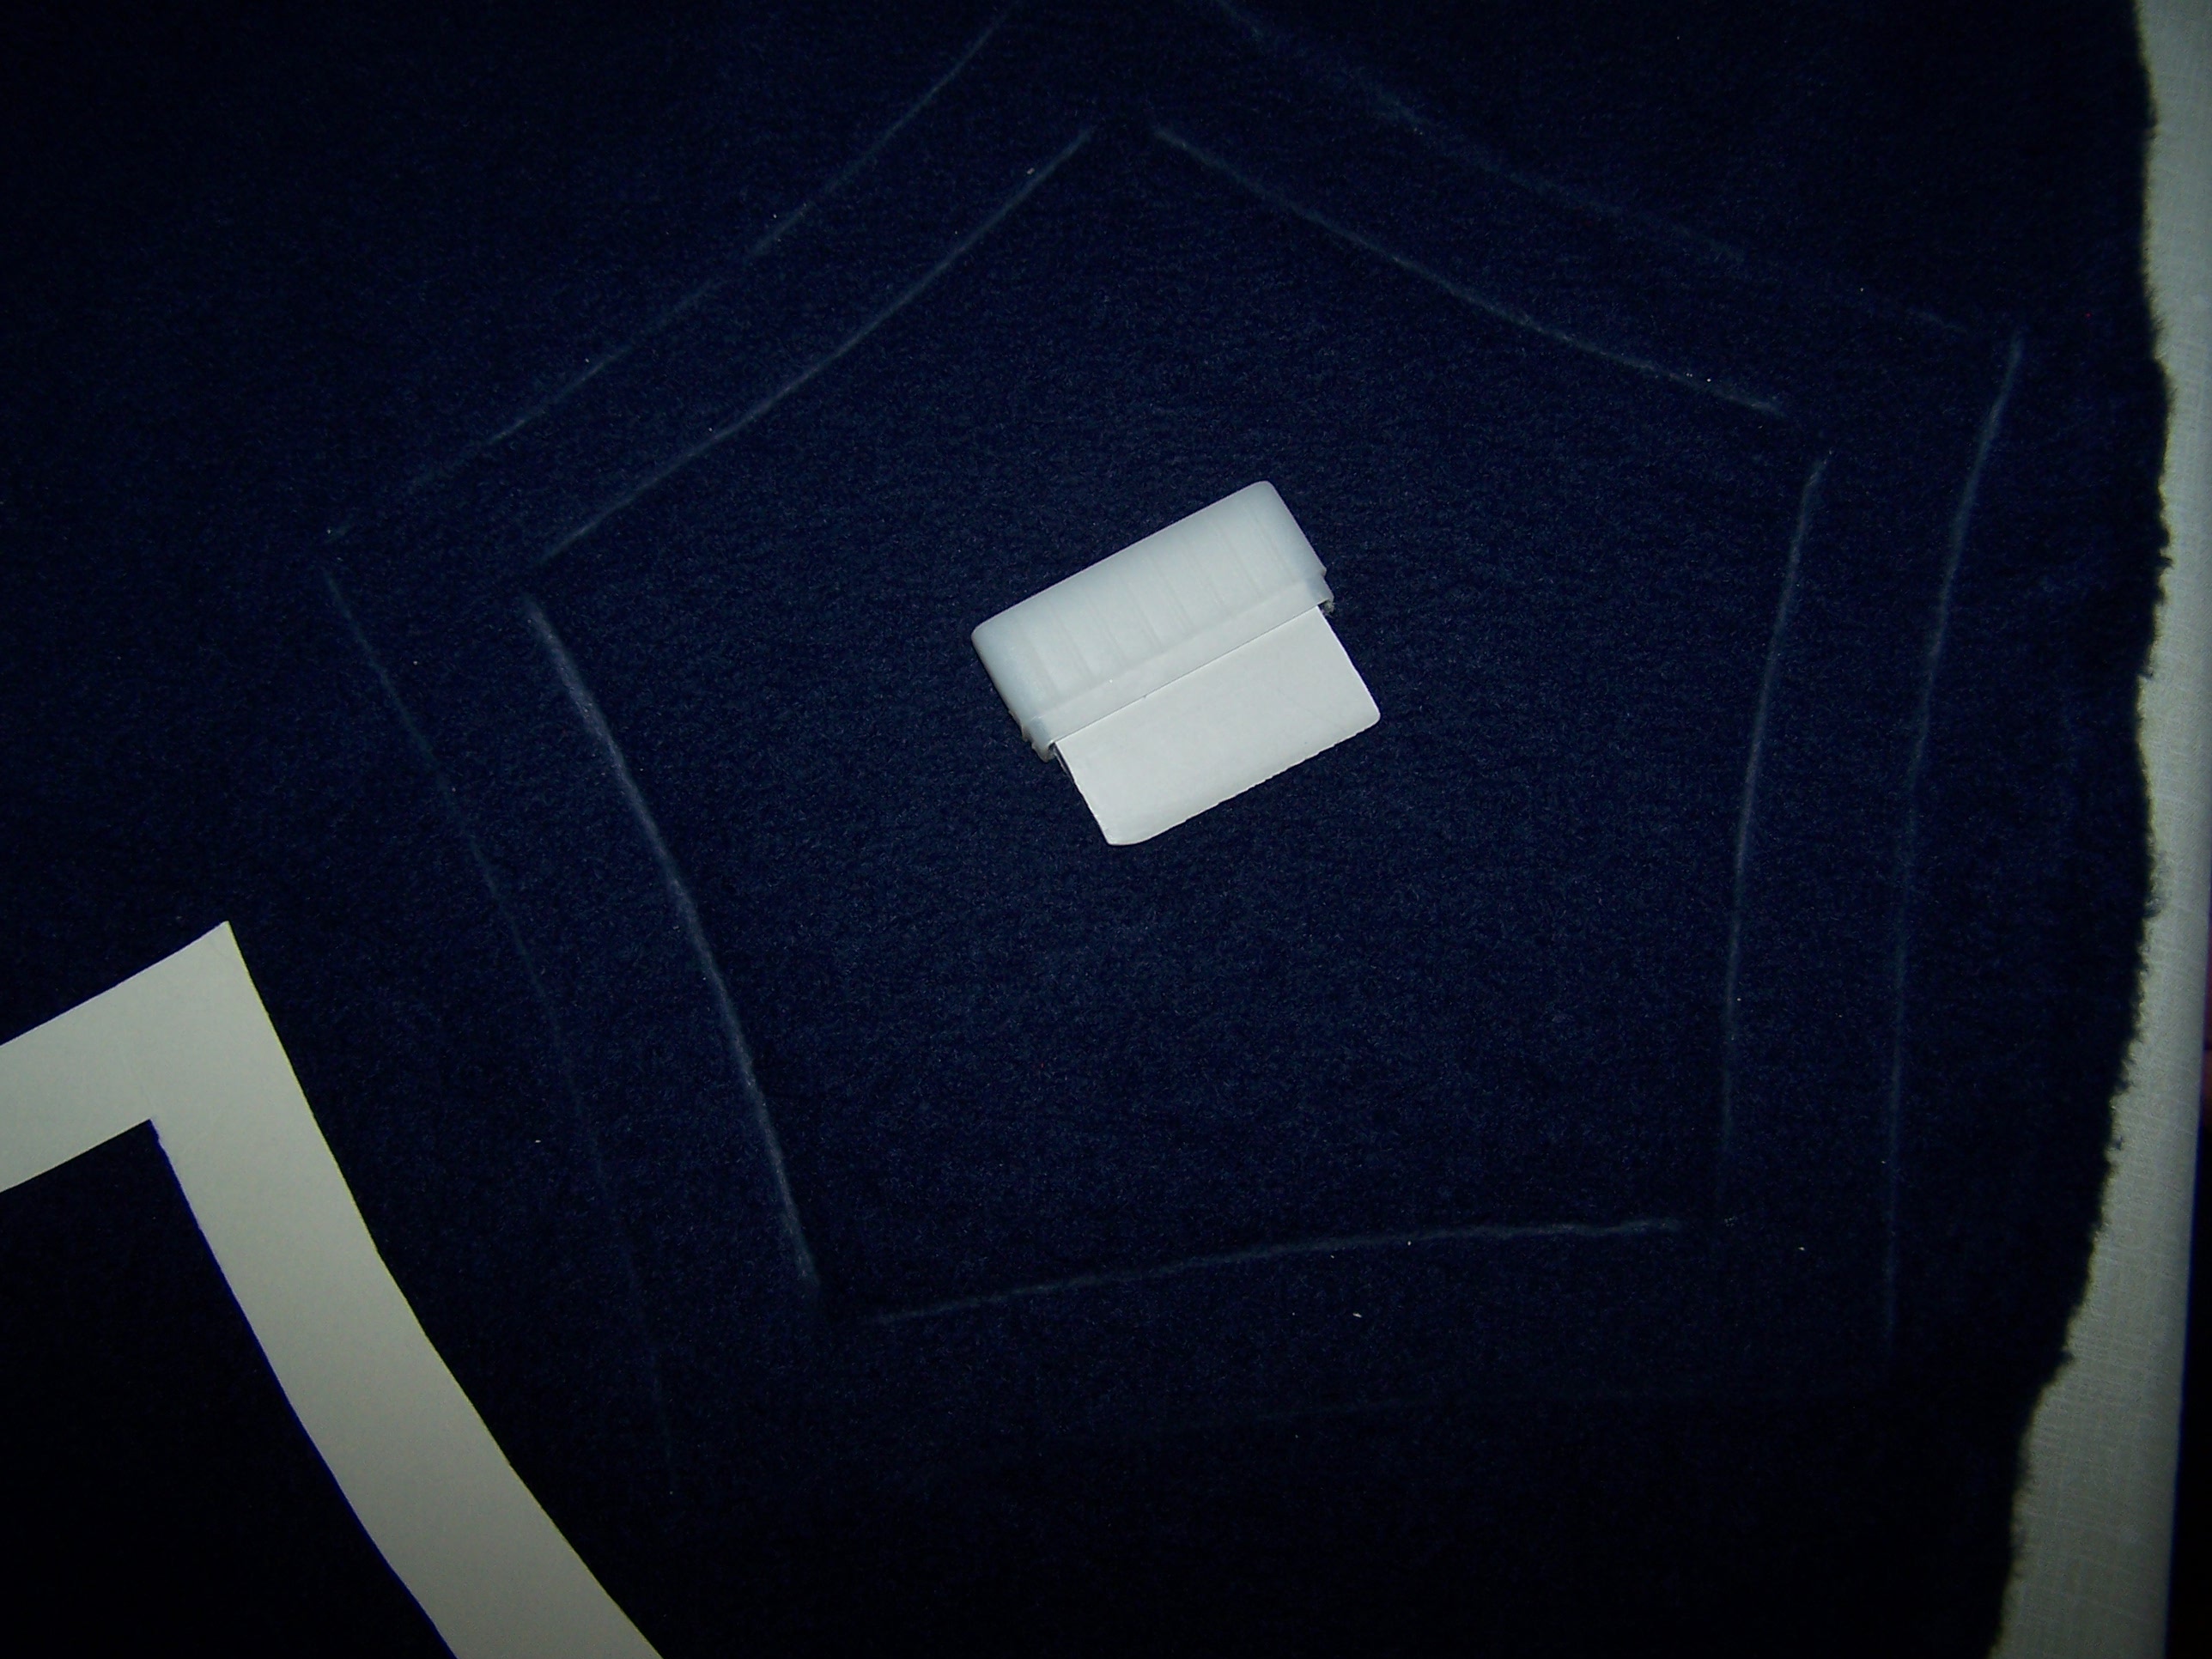
to make a cardboard template.

Gather your materials. You’ll need fleece of two different colors, tailor’s chalk and eventually some thread of a compatible color.

While holding the template firmly in place, run the chalk along the template’s outer and inner edges.

Try to keep the chalk a constant distance from the edge of the template. A little carefulness now will making sewing easier later on.
Make a rough cut around the pentagon’s perimeter.

Now that you’re no longer holding the whole bulky sheet of fleece in your hands, cut more carefully along the pentagon’s perimeter.

Here’s the final piece.

Make 25 pieces of one color and 26 pieces of the other color.
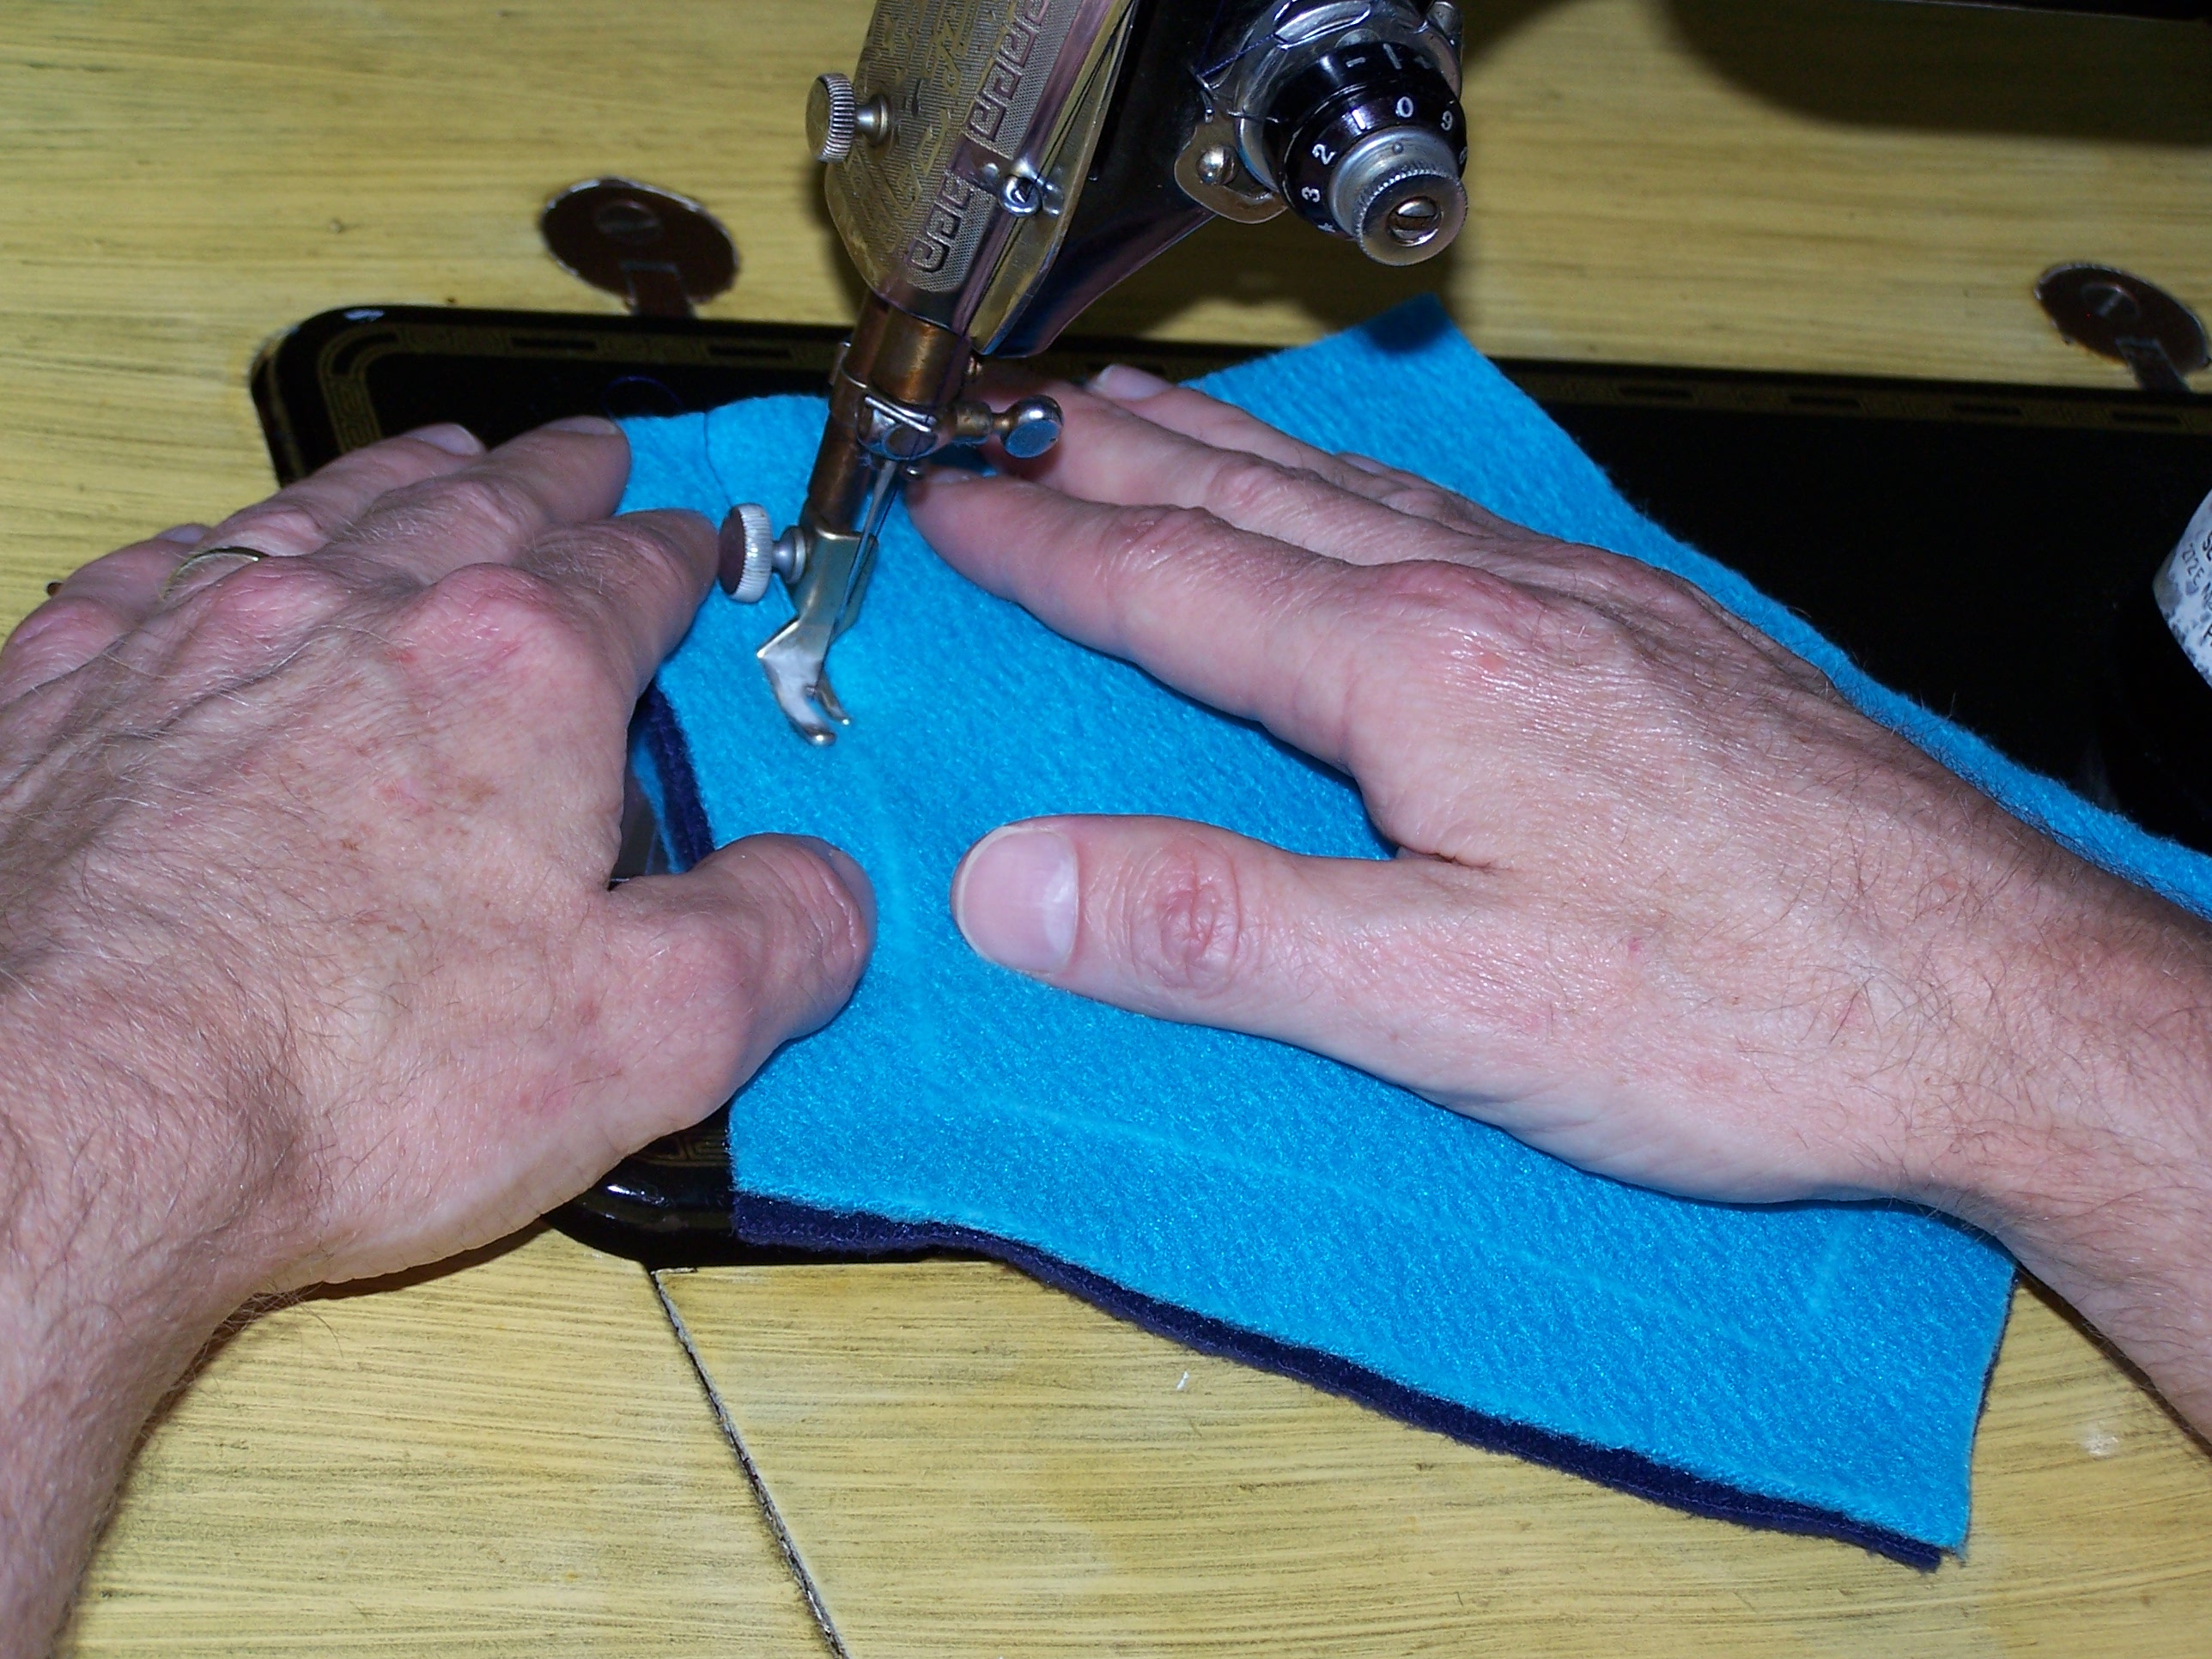
It’s time to start sewing! Get out your sewing machine and load your desired thread color. Don’t forget to load the bobbin too.

To sew two pentagons together, place them back-to-back (with chalk markings visible on both outer surfaces) and run a seam along one of the chalk curves. Because the chalk follows a curve and not a straight line, you’ll need to gradually rotate the pentagons as you make the seam. You can sew all the way from one edge of the fabric to the other; there’s no need to stop at the margin.
Sew the 51 pentagons into 25 bi-color pairs, with one pentagon left over.
The next step is to sew pentagon pairs together to make 5 groups of four pentagons each
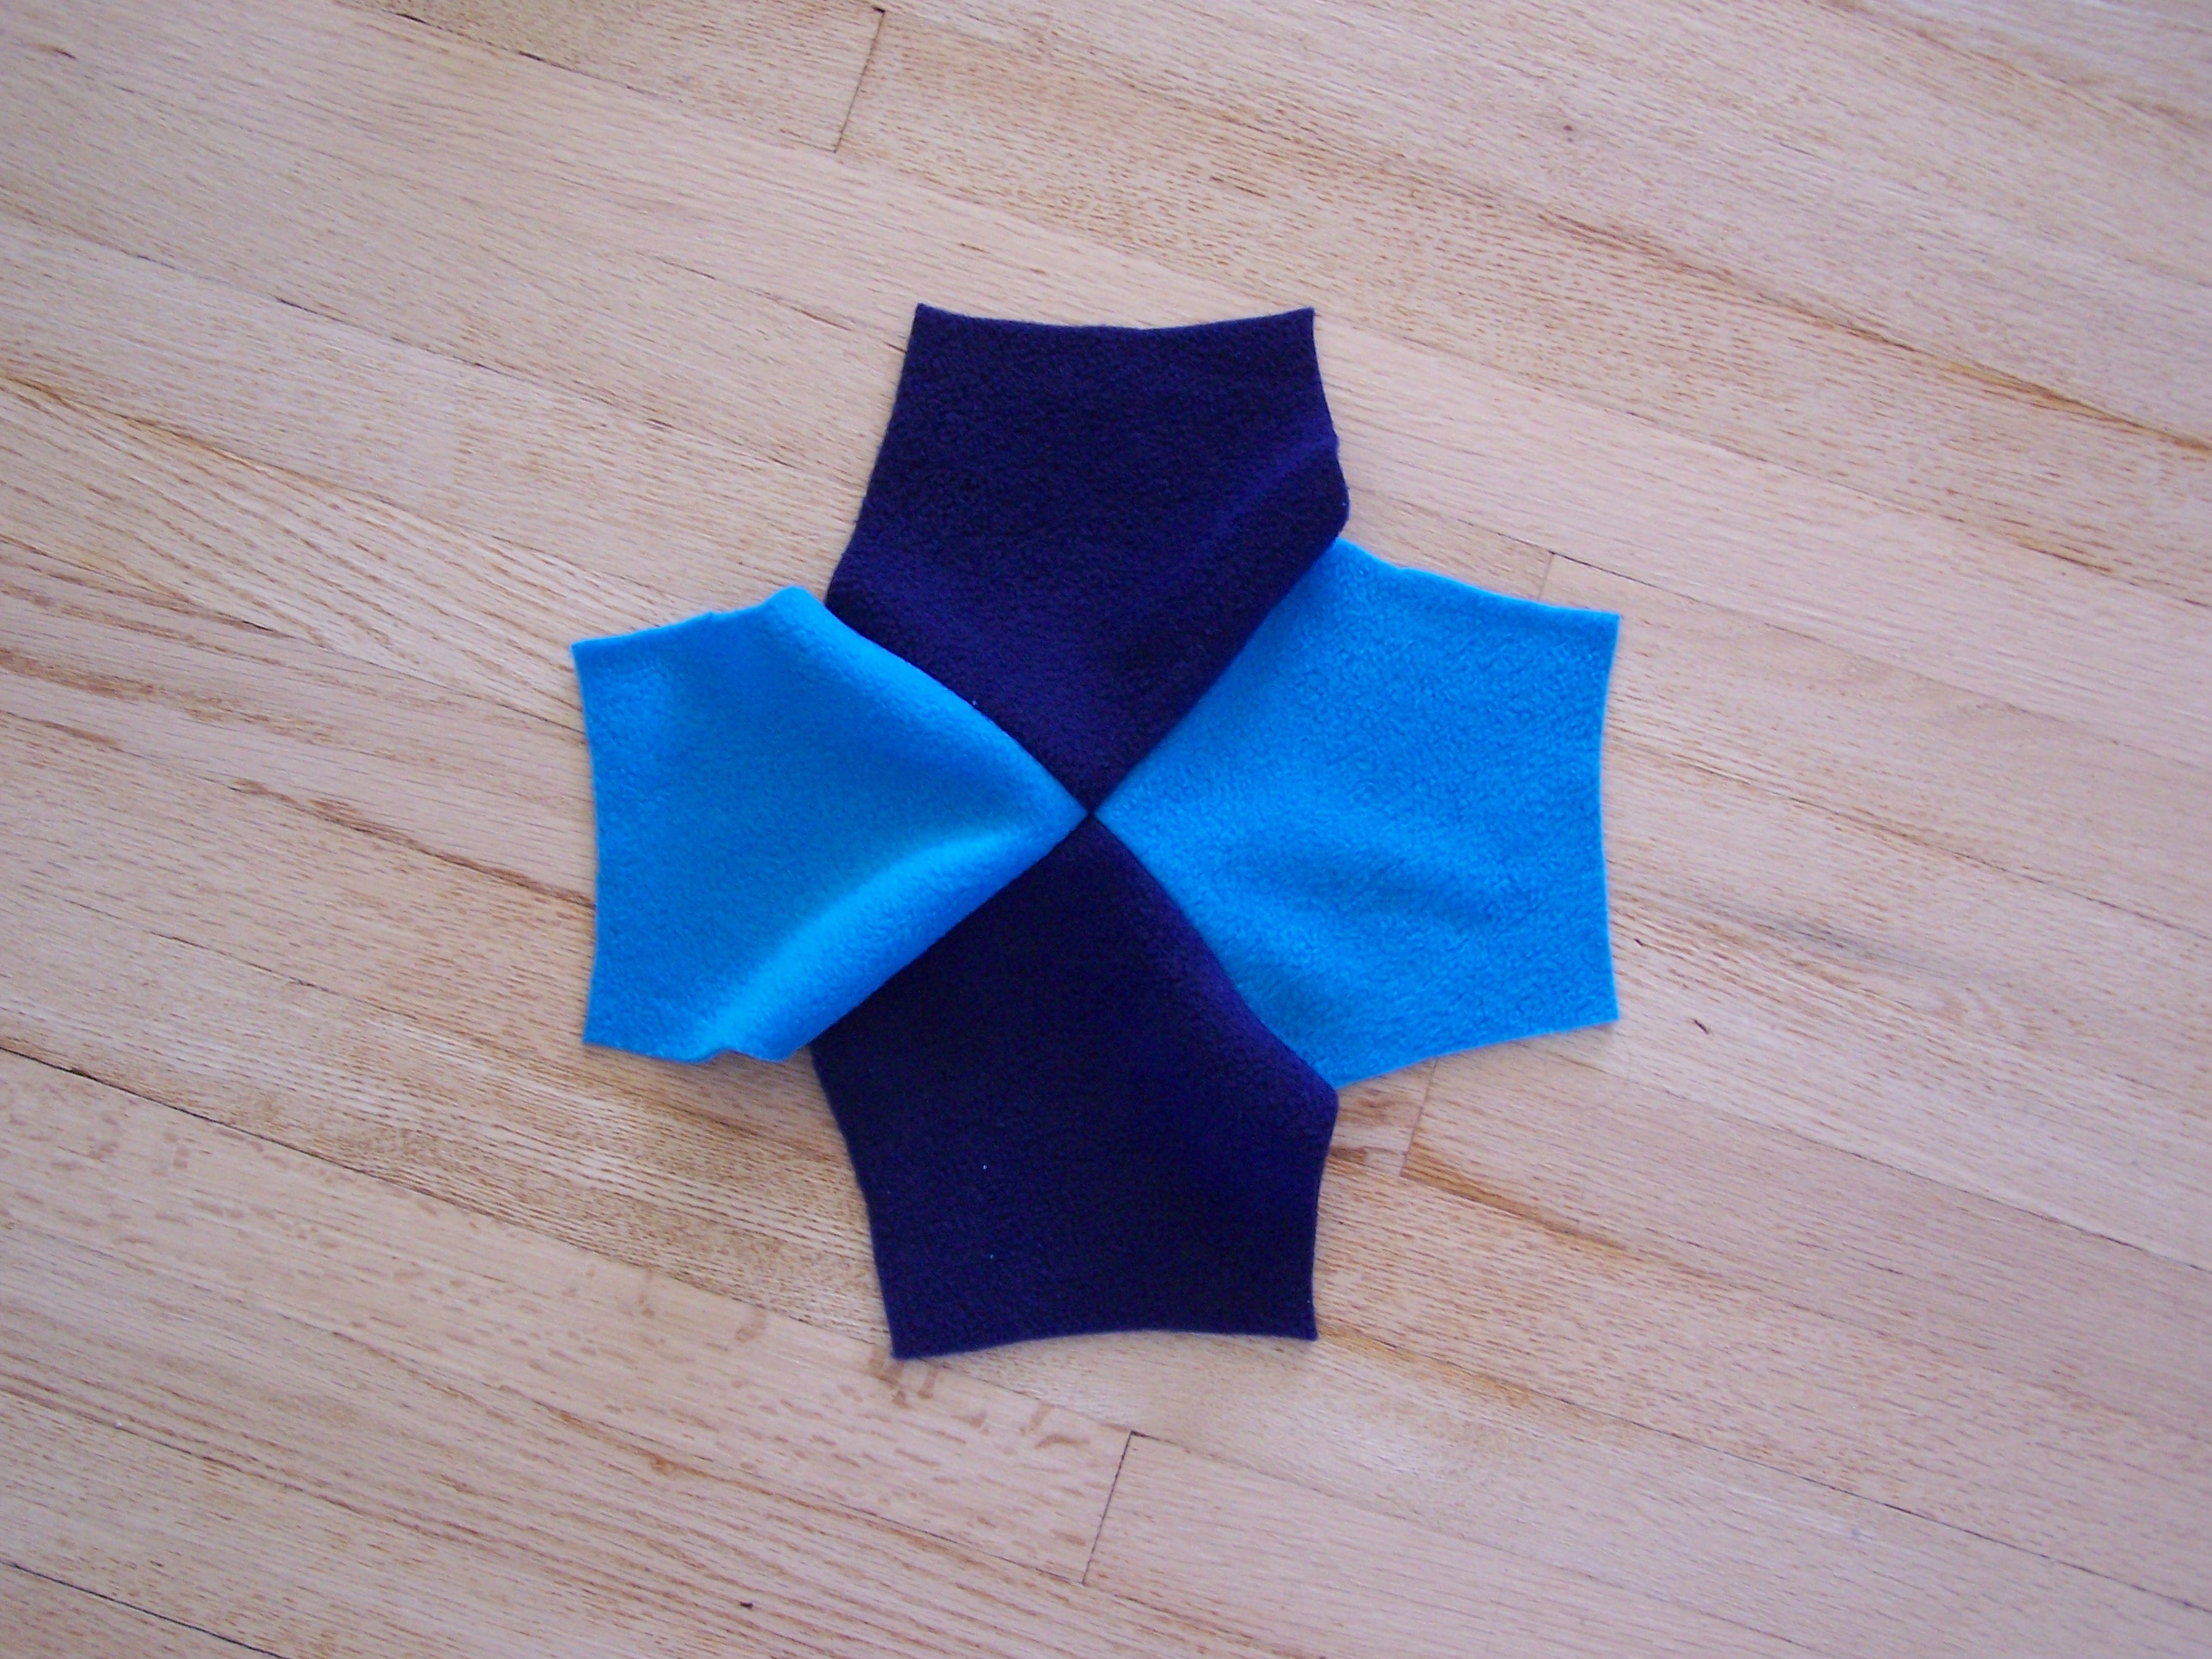
and 5 groups of six pentagons each.

Whenever you sew two pairs of pentagons together to make a group of four (or part of a group of six), there’ll be a point in the middle where all four pentagons meet. Take you time, get the alignment right, and you’ll end up with a beautiful blanket. You might be wondering, what could go wrong? In the photo of the group of four (above), all four pentagons meet at a single point. That’s good. But in the photo of the group of six (immediately above) the top center pentagon ended up a little too close to the bottom left pentagon, while the top left and bottom center pentagons ended up too far apart. The amount of error shown in the photo is hardly noticeable, but you wouldn’t want an error greater than that.
To get four pentagons to meet precisely, the key is make sure that the seams of the two constituent pentagon-pairs align.

Once you think you’ve got them aligned, hold them tightly together peek around underneath, to see how the blanket looks from its good side. If you see four pentagons meeting at a single point, great. If not, adjust the alignment of the seams and look again. Repeat as necessary. When you’re satisfied, insert a couple pins to hold the alignment in place while you sew the two pairs together.

At this point you should have 5 groups of four pentagons, 5 groups of six pentagons, and 1 single pentagon. The singleton defines the blanket’s central pentagon. Each group of four will share an edge with the central pentagon.
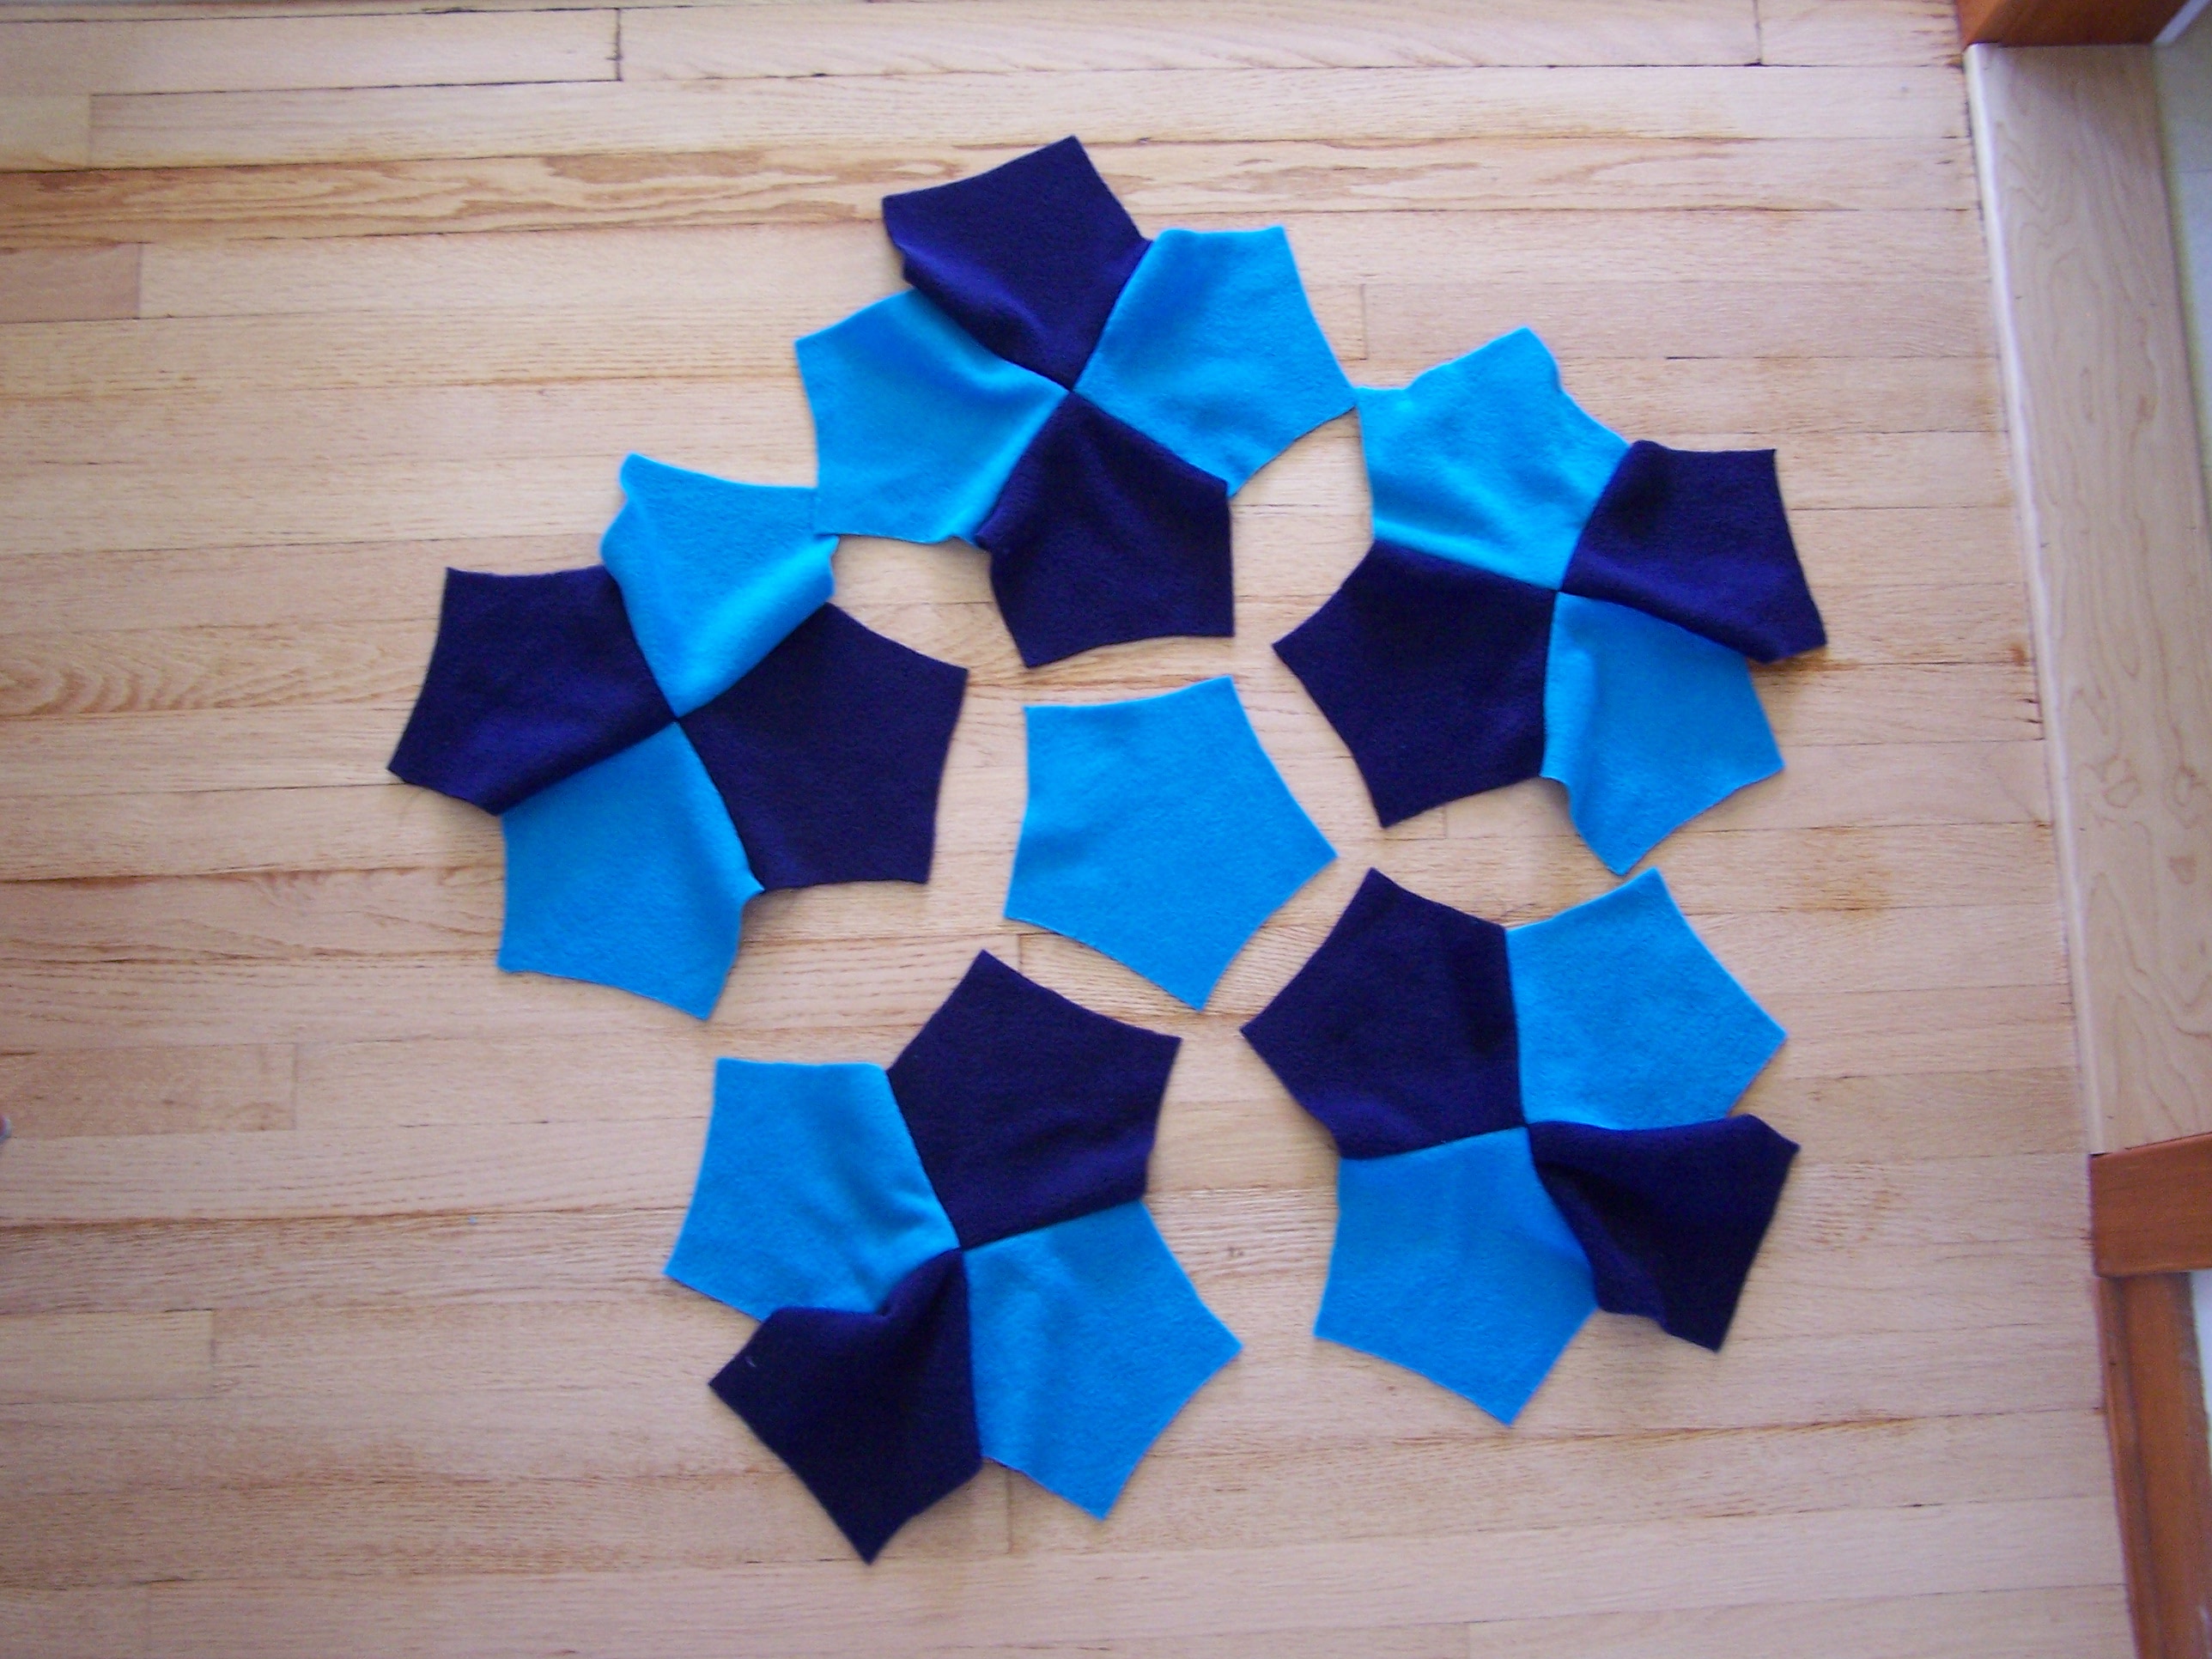
Each group of six will share only a corner with the central pentagon. The photo (immediately below) shows only 1 group of six. The other 4 groups of six should, of course, touch the central pentagon’s other 4 corners, but a Euclidean floor doesn’t provide enough space to show them all at once. ☺

Technical Tip: Try to arrange your final assembly so that you always sew a full edge of one chunk to a full edge of another chunk. In other words, never start or end a seam in a corner. How to organize this? Think backwards! Start with a picture of the final blanket (immediately below) and make a cut all the way across (red). That first cut will be the last seam you sew. Then make a second cut (orange) across one of the two pieces. That second cut will be the next-to-the-last seam you sew. Continue making cuts (yellow, green, etc.) until you’ve divided the blanket into 5 groups of four pentagons, 5 groups of six pentagons, and a lone central pentagon. Reverse your steps to assemble the blanket.

When you’re done sewing, trim away stray bits of thread to complete your hyperbolic blanket.

Ferguson’s hyperbolic blanket spreads out the curvature far more evenly than earlier designs did. Earlier designs typically called for cutting polygons from pieces of paper or cardboard and taping them together. For example, if you were to cut 51 pentagons from cardboard and tape them together with four pentagons meeting at each vertex, you’d get a surface superficially similar to Ferguson’s blanket, but with one major flaw: each cardboard pentagon has straight sides and 108° corner angles, so a total of 4 × 10⁸° = 432° surround each vertex, which is more than the 360° that should surround a point. It’s as if someone took an iron and flattened each pentagon, pushing its curvature outward from its center and concentrating all the curvature at the vertices. The cardboard surface’s global shape remains correct — it’s a nice floppy hyperbolic plane — but its local shape is wrong. Locally the cardboard surface is flat (Euclidean) across all the pentagons, with “infinite curvature density” at the vertices.
Ferguson’s blanket uses two clever ideas to correct the local curvature. The first clever idea was to cut each pentagon with concave sides and exact 90° angles. (In the photo of the template you can see that inner pentagon does indeed have perfect 90° angles and concave sides.) With 90° angles, a total of 4 × 90° = 360° surround each vertex, so no extra curvature get concentrated there. Instead, when you sew together two pentagons with concave sides, you spread the curvature evenly along the seam. In other words, this first clever idea, by itself, has taken the curvature that used to be concentrated at the 0‑dimensional vertices (in the cardboard model) and spread it out along the 1‑dimensional seams.
Ferguson’s second clever idea was to make the blanket from nice stretchy fleece instead of un-stretchy traditional fabric. The fleece’s stretchiness lets the curvature along each seam spread out into the interior of the two neighboring pentagons. In other words, this second clever idea takes the curvature that used to be concentrated along the 1‑dimensional seams and spreads it out across the whole 2‑dimensional surface.
View this page in:
العربية
English
日本語
Questions? Contact Jeff Weeks
Suggestions for improving this web page are also welcome.